Tips for an Organized Laundry Room
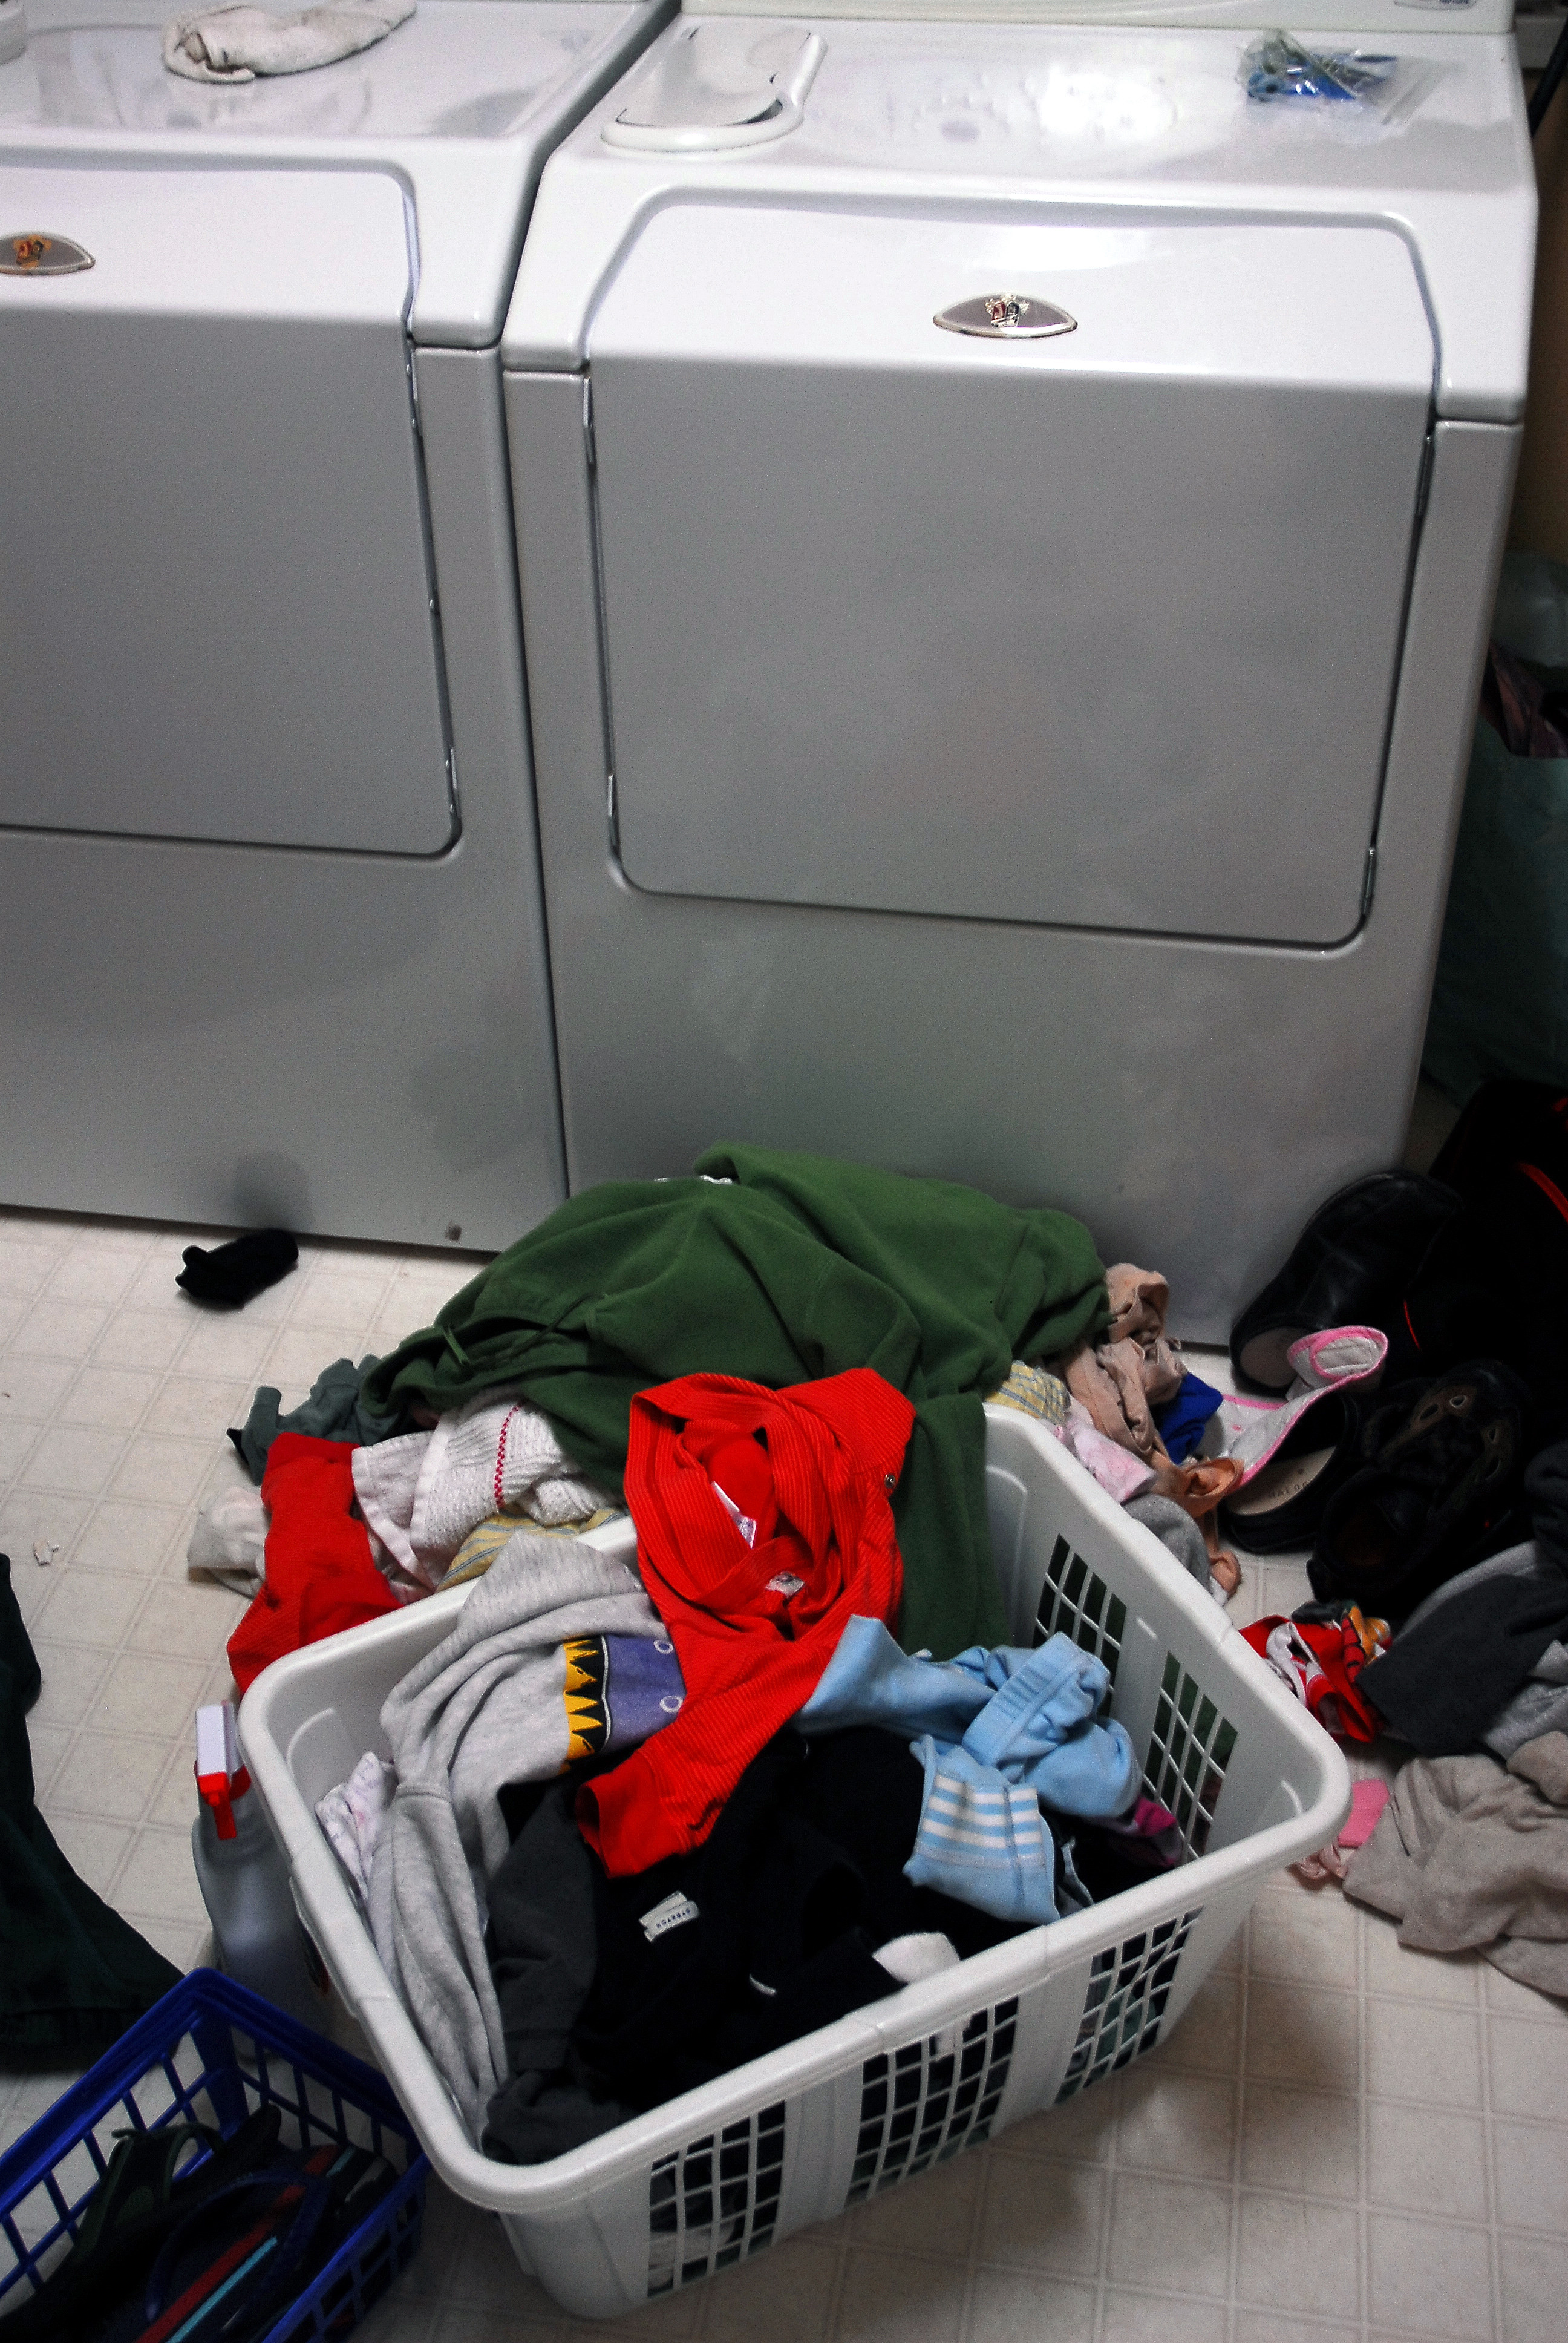 There are a few places in every woman’s home that they have to spend time in. The laundry room is one of these places and I don’t know about you, but it is certainly not my favorite place to be. If you have to spend time in there, it might as well be well organized. Here are a few tips that will help you get the laundry room organized and a little (just a little) more enjoyable.
Make full use of the selves that are in the laundry room. They can be used not only for storage on top of the shelf, but you can hang your delicate or freshly ironed clothing underneath them. Go out and purchase the inexpensive towel holders and attach them to the under side of the shelves.
If you don’t have a lot of shelves installed in your laundry room for storage, you can purchase one of those tall shelves from Target or Wal Mart. They are fairly inexpensive, but are essential for having an organized area. Use this are for your detergents, dryer sheets and bleach. There will be plenty of extra room for your iron or hangers or anything else that needs a place to call home!
Another problem that I had in my laundry room was the piles of cloths sitting on the floor. Nothing was separated, so of course, my husband accidentally ended up with pink socks, and one of my daughters favorite shirts ended up ruined because it was a delicate. I went to the mall and bought some nice wicker baskets and labeled the front of them. One for “Whites”, one for “Colors” and another for “Delicate’s”. I told them that they need to help out by separating their own clothes. Haven’t had a problem since!
Spending time in a laundry room doesn’t have to feel like being lost in a black hole. Everything is better when things have a place and are easily accessible. Also, you can try putting a fresh coat of paint on the walls to make it feel a little more cozy. Who knows, maybe…just maybe, it will be so inviting, your husband or kids will offer to help out! We can dream, right?
Corrie Petersen runs a successful Virtual Assistant business. She enjoys helping her clients organize their business through outsourcing.
Organizing your Car
 A messy car is no fun to deal with. More times than not you keep telling yourself that you will get to it and you never do. It’s not fun to clean out your car and keep it organized, but it’s something we all should do.
Organizing your car can be a challenge if you have a lot of stuff you need to have in your car. Whether you run your business from your car or you have things in there you may need if you get stranded, keeping it all organized is a must. Here are some tips that will help you get your car organized and keep it that way.
1. Checklist
Create a checklist that contains all items you need and want to have in your car at all times. You may also want to create a checklist for the items you will want in your car if you are going to be traveling in the winter as well. There are a number of things that you will want to have in your car. Some of them may pertain to the area you live while others may only pertain to those people that have small children. Create this list based on your needs and keep it somewhere handy where you will always be able to find it.
Here is a list of items you should consider for your car.
• Blanket
• Jacket
• Change of clothes
• Paper towels
• Three or four bottles of water
• Small bag of tools that work with your car
If you are going to travel in the winter, here are a few extra things you should include just in case you get stranded.
• Five or six cans of fruit or something you could eat if need be
• A can opener if your cans don’t have a pull tab
• First aid kit
• Flair kit
2. Plastic containers
Plastic containers are a great way to keep your car organized and they will help keep the items you store in your trunk safe and dry. Consider the size of your trunk and the items you will store in it before you make the purchase.
3. Getting started
Getting started can be the hard part. The best thing to do is lay out all the things you need to include in your car. Put them on the kitchen table or the floor. This will help you get everything into the plastic containers you purchase. If you want to include bottles of oil, antifreeze, or windshield wiper fluid, I recommend a different container. It would be terrible to get oil on the blanket that you include.
You should include a blanket with your kit and it might work out well to have this on the back seat of your car or on the shelf by your back window. If you choose to keep everything together it should go in the bottom of your container.
When your car is organized, you will feel better about it and you will have exactly what you need when you need it. You never know what may happen, so it’s always better to be prepared. When you use these tips, your car will be organized all the time.
Corrie Petersen runs a successful Virtual Assistant business. She enjoys helping her clients organize their business through outsourcing.
5 Tips to an Organized Birthday Party
 Organizing a birthday party can be a challenge in and of itself. There is so much that needs to be done before the party and then during the party as well. Of course, the majority of this depends on the type of party you have and where it will be.
1. Set a date
The first thing you need to do is set a date for the party. You may need to think about things going on during the weekend, holidays, or school activities. You must remember that you will not be able to make everyone happy. So find a date that works for you.
If you are going to hold the party in a difference location, you will need to contact them to make sure they have that date as well. Make the arrangements with them and find out what they will supply so you know what you will need to purchase.
2. Theme
Once you have the location picked out, you can decide on the theme and start making purchases. You can shop at Walmart, a party store, or you can order online. You will need invitations, cups, plates, silverware, table cloth, and any decorations you want. Make sure you verify the size so you don’t purchase things that are too big or too small. You also want to make sure you don’t over buy because that would mean a trip back to the store to return or wasted money if you can’t return them.
3. Invitations
Create a list of people that you want to invite. If you are holding the party at another location, make sure you ask how many people you can invite. Also take into consideration the number of adults you will have because you don’t want to have too many kids and not enough adults.
You need to make sure you send the invitations out in time so parents have the time to make it to the store for a gift. At the same time, you don’t want to send them out too early because your guests might forget about the party.
4. Planning
Make sure you buy your supplies early so you are not running out the day of the party to purchase them. You will also want to order the cake a week or so before the party or if you are going to make the cake, you’ll want to make it a day or two in advance.
The day of the party will be busy so you’ll want to set everything out the night before so it’s all together. Make a list of everything you need to bring so you don’t forget anything. Make sure you get to your party location 15-20 minutes before the party starts, just in case you have early arrivals.
5. At the party
 If it’s possible, have a large trash can or sack close to where you will be. This will help with the clean up process. Keeping on top of the clean up will help in the long run. Have the kids throw their plates and plastic ware away when they are finished and have them save their cups just in case they want more to drink. Use a pen or sharpie to write their name on the cup.
Organizing a birthday party will make it so much easier and you won’t stress or forget something. When you plan your party using these tips or suggestions, you will have a successful party and one that you can and will enjoy.
How to Organize your Diaper Bag
 As a mom, have you ever taken your baby with you to the store and in the process realized you forgot to back diapers in the diaper bag? There are so many things you need to bring. Most times there are things in there that we use at home as well. So these things will need to be removed but must be added when you go again.
Having an organized diaper bag is a must. When you forget something, you will either buy something that you don’t need or you will have to go home to get it. Of course diapers or wipes are things you will use, but you may have more than enough bottles or toys. Clothes, diapers, and wipes are expensive enough as it is, so spending money on bottles and toys is not necessary for sure.
Organizing your diaper bag and remembering to do it on a continual basis can be a challenge. Here are some tips that will help you.
• Diapers
No matter how old your baby is, you should have at least four diapers in your bag at all times. Doesn’t matter how long you will be out. Anything can happen. When you get home, immediately replace the used diapers so you don’t forget when you leave.
• Wipes
Wipes are a must so it’s a good idea to have them in the bag ready to go. Walmart has a trial size container of wipes that you can purchase. They usually hold a dozen or more. I suggest you refill that after each use as well. Place the new ones on the bottom so you use the older ones first.
• Bottles
Bottles are important as a baby can get hungry or thirsty at any time. It’s a good idea to have at least one bottle in your bag at all times. Depending on the amount of time you will be out, you may need more than one since you might not be able to wash them out thoroughly after the use.
• Blanket
It’s a good idea to have a receiving blanket in your bag just in case. It can be used to wrap your baby in if he gets cold, to lay down when you change a diaper, or wipe up a mess if your baby gets sick. If you use it, you’ll need to replace it otherwise it can stay in the bag.
The things listed above are the main things you will need. There are a few other items that you want to have in your diaper bag as well. These would include an extra outfit and a toy or two just in case.
Now the tricky part will be remembering to fill your diaper bag when you return home. Sometimes you may have things that need to be done right away and you may forget later. One idea is to put a note in the location where you put your bag that says to refill it. Once you follow this routine for a while it will become habit and you will automatically remember to do this either before or after.
When you follow these tips you will have everything you need the next time you go out. This will prevent you from leaving early or making an unnecessary trip home to get what you have forgotten.
Organizing your Clothes
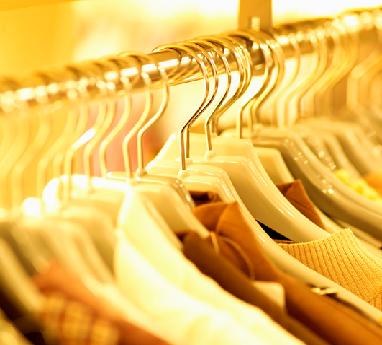 We all have seasonal clothes. Seasonal clothes would be things we wear only in the summer, clothes we wear in the winter, and then holiday clothes. Organizing these items so they are readily available when the time comes to get them out can be a problem. Here are some tips that will help you get through this with ease.
• Dresser
If you can afford one and you have room, one idea is a second dresser. You can store this in a spare room, laundry room, or storage room. When summer time hits, you store all of your winter clothes in the spare dresser. When winter hits you store all your summer clothes in there. Now this won’t work for dresses and other items that should be hung, but it will work for pants, shirts, and skirts.
• Storage containers
Storage containers are great because they are easy to store and they are easy to see into. You can store these under the bed, the closet floor, or a shelf above your clothes in the closet. These also work well in store rooms, and spare rooms.
• Spare room
If you have a spare room or an office that has a closet, you can use the closet for your seasonal clothing. This makes a transfer easy because the items are already on hangers. It’s as simple as a swap or transfer. Of course this will mean you will need more hangers, but it will be worth it because you won’t have to use the iron on them.
• Storage bags
You can purchase storage bags online or in the store. These bags allow you to put a number of pieces in one bag, and then you seal them and use a vacuum to get all the air out. Not only does this save room, but it also protects your clothes.
• Bar storage
If you have room in your storage room, you can create a closet in a corner. Use 2×4’s and a bar and make your own. Then you can hang all your clothes on that and they will be out of the way, but you will have easy access to them.
• Plastic stand alone closet
You can purchase a plastic stand alone closet and put it in your storage room. These are designed for rooms that don’t have a closet. They have the bar across the top and the doors close like a regular closet. These work well for storing seasonal clothing.
Organizing your seasonal clothing is a great way to store your clothing and keep them nice and neat. These suggestions work well for children’s clothing. When you know you will need them later for your next child you can store them and they will be ready when you are.
These are just a few of the many options you have when it comes to organizing your clothes. You can also use some of these same suggestions with your shoes. Closets are a mess anyway. When you have your snow boots mixed in with your sandals, it can cause a headache when you are in a hurry and can’t find the right pair.
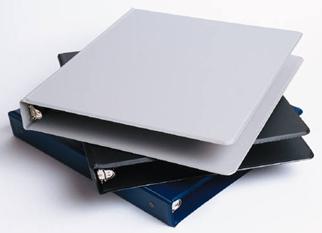
Organize your Recipes in a 3-Ring Binder
 I know if you are like me, you have a drawer full of recipes. Some were copied from the newspaper, some were printed off the computer, and others were handwritten. What a mess that drawer is and how much time does it take to find the recipe you are looking for? Hours I’m sure. Ok, so maybe that’s an exaggeration, but it feels like it sometimes.
Here’s an easy way to organize your recipes and make your time in the kitchen a little easier and less time consuming.
Purchase a two or a three inch 3-ring binder and a package of dividers from your local stationery store. You will also need notebook paper or computer paper and a three hole punch.
There are a few ways to do this. It will depend on how much time you want to invest in it as to which way you go with this project.
One way is to take your 8 ½ x 11 sheets and three whole punch them and set them aside. Now if you have other sheets that are not that size, you will need to do something to them to get them to an 8 ½ x 11 sheet.
To do this, you can write them on the notebook paper, you can tape them to a sheet of paper, or you can copy them with a copier. Whatever way you decide to go, you will need the sizes to be 8 ½ x 11.
Once you have them all done, you are ready to create the categories. Take the dividers that you purchased and write the categories you want. It may be easier to sort your recipes into categories first. That way you will know what you need to write on the dividers. You might have categories like desserts, drinks, casseroles, and main dishes. Just use what works for you.
Once this step is done, you are ready to three hole punch each sheet and insert them into your notebook. I recommend putting them in alphabetical order, but that is up to you for sure.
Now one other thing you can do is create a table of contents and list each recipe and the page number. This means you will need to number each page and this could cause difficulties if you add a new recipe to your book. You could create the table of contents and not list the page number. When you add a new recipe you would go to your computer add the new recipe in the order it is in the book and print it out again.
Now the other option involves the computer. You will need printer paper, a three hole punch, a two or three inch 3-ring binder, and the dividers.
You will need to take the time to type out each and every recipe you have and then print them out. Now you will want to make sure each recipe is on its own paper so you are not printing out two recipes on one sheet. Once this is done and you have them printed out, you will need to three hole punch them.
After they are punched, you will need to divide them into categories just like I described above. Then create your categories on your divider sheets and then put the book together. You can create the table of contents together the same way as described above as well.
Organizing your recipes and putting them into a 3-ring binder is a great way to keep them all together and nice and neat. Storing the 3-ring binder might be a bit of a challenge, but hopefully you will be able to find a drawer it will fit in or you might be able to place it in the cupboard that is close to the range.
Placing your recipes in a 3-ring binder will not only save you time when searching for a recipe, but it will help you to have more storage since you won’t have a junk drawer full of recipes, and it will keep your recipes in one place and you won’t have to worry about losing them.
Do you organize your Recipes? Part 2
In the last article we talked about using the computer to organize your recipes. I showed you a couple of different ways to do this and I also 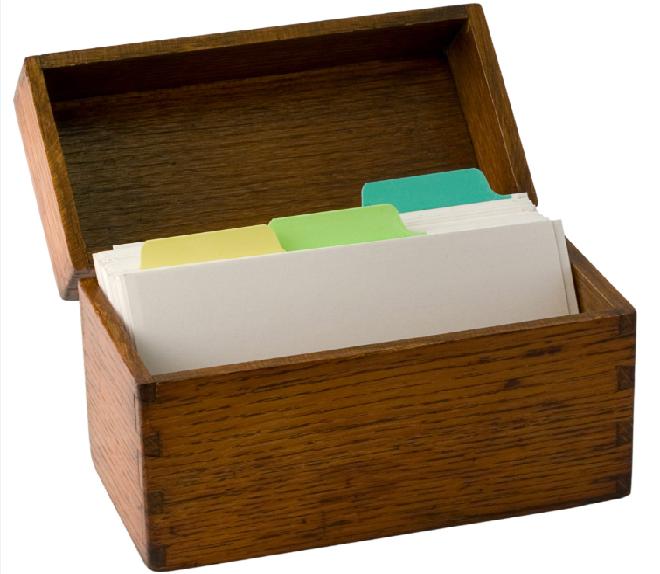 shared with you that you can share them with others easily and you won’t have to find a place to store them in the kitchen.
This time we are going to talk about using recipe cards for all your recipes.
Recipe cards are a great way to keep your recipes nice and neat and in a place where you will always be able to find them. There are a couple of different ways you can go when you use recipe cards.
Now most people use a regular index card for the recipes. Now I don’t know about you, but I write pretty big, so it’s hard for me to fit a detailed recipe on one of those. So I recommend you get the larger cards if you write large or you have a lot of detailed recipes. It’s easier to do that then it is to continue onto multiple cards and run the risk of misplacing one. If you do go with the smaller cards I recommend getting a stapler so you can staple them together.
Another option is to use cards that are specifically for recipes. These cards usually have pictures of kitchen utensils on them and they are usually quite large. They will have lines on one side and they are blank on the other. You can look at stationery stores, kitchen stores, or online for these. You may also be able to find a container to put them in.
If you can’t find a container to store them in, you might consider a plastic storage box. Another option is to make a box out of wood and use that for your recipes. If you use the wood, you will need to paint it or put varnish on it so you don’t have to worry about splinters each time you reach in for a recipe.
Once you decide what type of card to use, you will need to create dividers for desserts, drinks, salads, casseroles, main dishes, etc. This will help you organize your recipes into categories so they will be easy to find. You can purchase the dividers or you can create your own using a card and a raised tab above with the category in that area.
Now you need to start copying your recipes on the cards. This is a time consuming process, but you will be much happier when you go to find a recipe. You can either hand write these recipes out or if you have a typewriter, you can type them out. This is another process that you can hire someone to do if you don’t want to do it yourself.
So there you have it, two ways to organize your recipes so that you will save time and you won’t have to worry about losing recipes again. Either way is time consuming at first but it will be well worth it in the long run.
Do you organize your Recipes? Part 1
This is something most people don’t even think about organizing. I know when I first thought about it, it was like, why? But think about this. How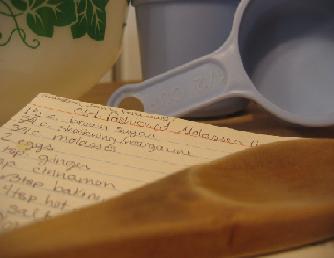 many times have you searched for hours for a recipe and then ended up making something else because it was nowhere to be found. How many times have you searched for a recipe because you were preparing for a grocery store visit? This is a big time waster if you ask me. So I’ve decided to show you how I’m organizing my recipes.
I have recipes that I have received from others and I have recipes that I have found online. This means I have lose papers all over the place. Some recipes were written on recipe cards while others were written on envelopes or worse yet, a napkin. Organizing your recipes can take time, but if you do it a little at a time, it won’t be so bad.
Here are two different ways to organize your recipes. You will have to decide which one will work better for your needs, but once you do, don’t go back to the old way.
For many of us, the computer is a great way to go. You can put your recipes into a Word document and then have the ability to search for the title, ingredients, or any other way.
To do this, you will need to gather all of your recipes that are handwritten, pulled from magazines, or printed from the computer. This will be a time consuming task because you will need to retype all the recipes into your document. If you don’t have the time or don’t want to do this project, you might consider paying someone like a teenager, virtual assistant, or someone else.
When you start this project, just type them in. They don’t need to be in any order at first. Once you get all of your recipes typed out, you can do some further organizing. There are a few ways you can do the organizing process. You can copy and paste all your desserts into one document and all your pastas into another document or you can put all of your favorites or regularly used recipes into one document and put all the others in another one. Think about what the easiest way is for you and go that route.
Once you decide which route you will take, you can put them in alphabetical order by the name of the meal or you can put them in order by the amount of time it takes to cook. Again, think about what will work best for you and what will be the easiest way for you to find the recipe you are looking for.
Using the computer is a great way to keep all of your recipes organized and you won’t have to find a place to store them in your kitchen. It’s also a good way to share your recipes with others easily and quickly.
In the next article we will talk about using recipe cards for your recipes and how you can organize them.
Garage Sale Season is upon us, will you be ready in time?
 When spring time hits people decide to do spring cleaning around their homes. Spring cleaning inside and out is a great way to spruce up your home, make room for the new by getting rid of the old, and rearranging things so it looks better.
One way to get rid of things that you don’t need or want is to have a garage sale. You’ve heard the old saying, “one man’s junk, is another man’s treasure”…and it is such a true statement. You’d be amazed at the things people look for and want. Some people shop garage sales to find things that are worth a lot of money that people are selling for cheap because they don’t know the value. While other people shop garage sales looking for items in good condition that they can sell on Ebay.
Some people decide they will never have garage sale because they are just too much work, while others don’t want to have one because they think nobody will buy from them. There are a few things you can do to make sure you have a successful garage sale. These things are easy to do and could turn out to be the best things you ever did.
Here are some organizing tips that will help you prepare for your garage sale.
The first thing you need to do to prepare yourself for a garage sale is to find items that you want to include. To do this, you need to go through your house and look for things that you don’t need or want anymore. Go through each room in your home when you do this. These items can include clothing, figurines, pictures, and toys.
Once you find these items, you will want to put them into categories. You will have categories like bathroom, kitchen, kids, and other. Once you have your items in categories, you are ready to put prices on your items. You need to remember that these items are used and people will not be willing to pay a lot of money for these items. Prices should range from $0.25 to $5 or so. If your items are brand new with the tags on them, you could ask for a little more, but make sure you keep the tag on it so they know it’s still brand new.
Once you have this all done, you are ready to schedule a date for your garage sale. Most times they are done on a Saturday and Sunday, but every once in a while you will see one on Friday. Now people are starting to go with Saturday only. Really this is up to you and how much time you want to invest in it.
You also need to advertise your garage sale. You can make flyers and post them or put an ad in the newspaper, Thrifty Nickel, or Quick Quarter. If you use the flyers make sure you follow the laws in your community.
On the day of your garage sale you will need to get up early so you can have everything ready to go. You will always have early bird buyers so you will want to be ready no later than 8 am or so. You will also want to have enough change so you won’t have to go to the bank or try to go to stores to get more. I recommend $10 in quarters and $40 in ones at the least.
If you want to keep track of what you sell, you can do this in a couple of ways. You can use a paper and write it all down or you can use stickers on each item and put them on a paper that you can add to a spreadsheet later.
So there you have it. Everything you need to do to have an organized garage sale. Now is the time to do some spring cleaning and have a garage sale. Good luck!
Organizing your Email is Crucial in Business
 If you have an organized email system, you will spend less time searching and more time sending emails and doing other things to grow your business.
One way to organize your email is to organize your contacts. This way you won’t search through emails trying to find the correct email address or you won’t have to call that person to ask for it.
If you use your email for all contact information for a person, that’s ok. It’s a great way to keep it all in one place without building a spreadsheet for it. Depending on the email system you use, you should have room for their full name, title, company name, phone numbers, and address. You can use this as your electronic rolodex if you choose. This is a very good way to organize your contacts and have a clean desk at the same time.
If you use your email for contact information, it’s a good idea to add the information or make changes as soon as you are aware of it. If this is not possible, you should consider calendaring time each week to do these changes or outsource it to a Virtual Assistant if possible.
Another way to organize your email is to use the distribution list feature in your email. If you have groups of people that you continually send items to and it’s always the same people every time, you should consider creating these. Use a name that you will always remember and something that will match what you send. That way you won’t forget. Then you add these people to the list. Then you will only have to type in that list name and all of the people within that group will receive your email.
A great feature of distribution lists is you can have one person in as many distribution lists as you want. So if you have three lists and one person should be in all three, that’s ok because you can do that easily.
Distribution lists are easy to edit and add people to. This makes it easy to create all sorts of lists and save yourself so much time. Probably the hardest thing you will have to do is remind yourself to add people to them if you have someone new come along.
One important way to organize your email is set up folders for your different groups, and set up rules for each one. When you set up rules, your emails from certain people are transferred right to the appropriate file. This keeps your inbox free of clutter. There is one important thing to remember, and that is to check the emails in these files each day. You can also set up files like these for those emails that you receive from companies soliciting your business, that you may want to read later, but are a nuisance in your inbox. When these are moved to their own file, you can read then when you have time. By setting up files and rules, you save yourself the job of cleaning out your inbox.
You can also set up a rule to move mail with certain words in the subject straight to junk mail. Spammers are very sneaky and will do anything they can to get their email to your inbox. If you have a rule for these types of emails you can get ahead of the game concerning junk email.
Now you know how to organize your email and you are ready to get started. Follow these tips and you will be well on your way to an organized inbox and you will save yourself time each day.